short info

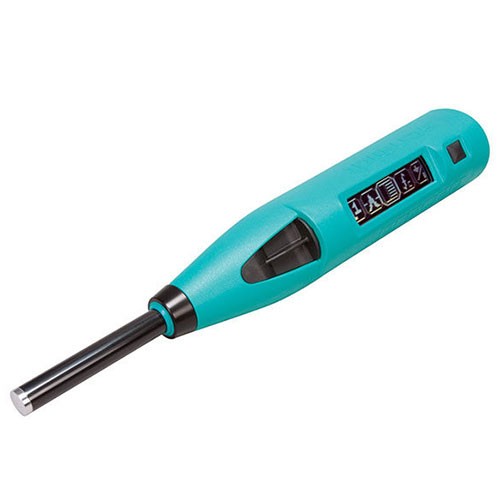
The RockSchmidt is a variation of the SilverSchmidt adapted specifically for rock testing applications such as UCS correlations or to predict penetration rates for tunnel boring machines and rotary drum cutters.

Standard

ASTM D 5873 (Rock)

Model

Rock Schmidt

Origin

Indian

Make/ OEM

VERTEX

  • Description

  • SPECIFICATIONS

  • FEATURES

  • VIDEO
  •  New
    WORKING PRINCIPAL

OVERVIEW

  • Impact Energy: 2.207 Nm (N), 0.735 Nm (L)
  • 20 to 150 MPa Unconfined (or Uniaxial) Compressive Strength (UCS)
  • Custom curves
  • Correlation to UCS
  • Correlation to E-modulus
  • Weathering according to ISRM
  • Rebound according to ASTM and ISRM
  • Single button programming of settings
  • RockLink for data assessment and export to third party software
  • Integrated digital display400 series of 10 measurements
  • USB interface to PC

ISRM – Aydin A., ISRM Suggested method for determination of the Schmidt hammer rebound hardness: Revised version. Int J Rock Mech Mining Sci (2008), DOI:10.1016/j.ijrmms.2008.01.020.


SPECIFICATIONS

Two models are available. RockSchmidt Type N with standard impact energy is most suited to field testing and RockSchmidt Type L with low impact energy as specified by ASTM for testing cores.

FEATURES

Your Benefits

  • Correlations to UCS using both ASTM and ISRM recommendations as well as user defined statistis
  • No need to manually record the impact values in the field
  • Extremely durable with long service intervals when compared with classical hammer

PRODUCT VIDEO

WORKING PRINCIPALNew

Certainly, here is a basic operating manual for a rebound test hammer, commonly used for non-destructive testing of concrete structures:

Rebound Test Hammer Operating Manual

1. Introduction: The rebound test hammer is a portable device used to assess the surface hardness and, indirectly, the compressive strength of concrete structures. This test is non-destructive and widely employed in construction and civil engineering for quality control and structural assessment.

2. Safety Precautions:

  • Always wear appropriate personal protective equipment, including safety glasses and gloves.
  • Ensure a safe distance from other workers during testing to prevent accidents.
  • Handle the rebound test hammer with care to avoid damage to the instrument or injury to the operator.

3. Equipment Setup:

  • Ensure the rebound test hammer is in good working condition and calibrated regularly.
  • Adjust the instrument’s impact energy, typically indicated as “N” for normal and “L” for low. Select the appropriate setting based on the expected strength of the concrete.
  • Ensure that the hammer’s plunger and the concrete surface are clean and free from loose particles or debris.

4. Test Procedure: Follow these steps to perform a rebound test:

a. Hold the rebound test hammer firmly with one hand, making sure not to touch the plunger during testing.

b. Position the instrument perpendicular to the concrete surface at the location to be tested. Ensure the plunger makes direct contact with the surface.

c. Apply a firm, quick, and consistent force to the instrument’s trigger with your other hand. This causes the plunger to impact the concrete surface.

d. After impact, the rebound test hammer will rebound off the surface. Observe and record the rebound distance (R) indicated by the scale on the instrument. This scale typically ranges from 10 to 100, with higher values indicating higher concrete hardness.

e. Repeat the test at multiple locations to obtain a representative assessment of the concrete hardness.

5. Interpretation of Results: The rebound distance (R) obtained from the instrument needs to be correlated with the compressive strength of the concrete. This correlation can be established using calibration curves provided by the manufacturer or local standards.

6. Maintenance:

  • Clean the instrument after each use to prevent debris from affecting future measurements.
  • Periodically calibrate the rebound test hammer according to the manufacturer’s recommendations.
  • Inspect the instrument for any damage or wear, particularly the plunger and the rebound scale.

7. Reporting: Record the rebound values obtained during testing and correlate them with the concrete’s compressive strength. Include all relevant details such as test locations and any anomalies observed during testing.

Always refer to the specific manufacturer’s instructions for your rebound test hammer, as operating procedures may vary slightly between models. Proper maintenance and calibration are essential to ensure accurate and reliable results in concrete hardness assessments.

8. Troubleshooting: If you encounter issues during testing, such as inconsistent rebound values or unusual readings, consider the following troubleshooting steps:

  • Ensure that the instrument is calibrated correctly, and the impact energy setting matches the concrete’s expected strength.
  • Check the cleanliness and condition of both the plunger and the concrete surface.
  • Verify that the instrument is held perpendicular to the concrete surface during testing.
  • Avoid testing areas with surface coatings, paint, or other materials that could affect the rebound measurement.
  • If you continue to experience issues, consult the manufacturer’s manual or seek assistance from a qualified technician.

9. Best Practices: To ensure the accuracy and reliability of your rebound test results, consider these best practices:

  • Conduct tests at various locations on the concrete surface, especially in areas where variations in concrete quality are suspected.
  • Maintain a testing log that includes details like the test location, date, time, operator, and any unusual conditions observed during testing.
  • Perform regular maintenance and calibration to keep the rebound test hammer in optimal working condition.
  • Follow established standards and guidelines for rebound testing, such as those provided by ASTM International or relevant national standards.

10. Conclusion: The rebound test hammer is a valuable tool for assessing the surface hardness and indirectly estimating the compressive strength of concrete structures. When used correctly and in conjunction with proper calibration and interpretation, it can provide valuable insights into the quality and condition of concrete elements.

Always prioritize safety during testing, and adhere to safety precautions and guidelines to minimize the risk of accidents or injuries. Regular maintenance and operator training are essential to ensure accurate and consistent results.

Get Instant Quote

Our Hot Selling Instrument's

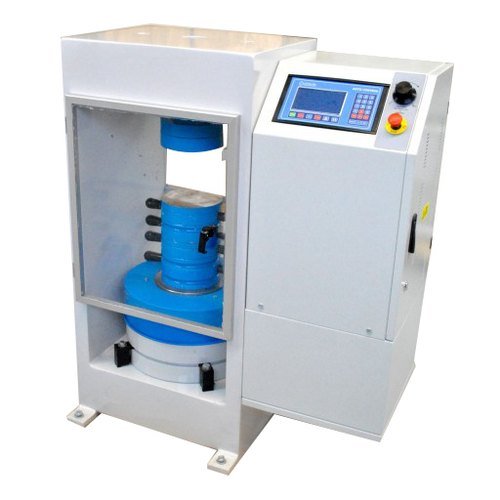
Servo Fully Automatic Compression Testing Machine

Servo Fully Automatic Compression Testing Machine

One of the key advantages of the SERVO CONTROLLED FULLY AUTOMATIC COMPRESSION TESTING MACHINE is its ability to deliver highly accurate results. This precision ensures that your materials meet the required standards, reducing the risk of costly errors and rework. Moreover, by producing consistent and reliable outcomes, you build a reputation for quality in your industry.

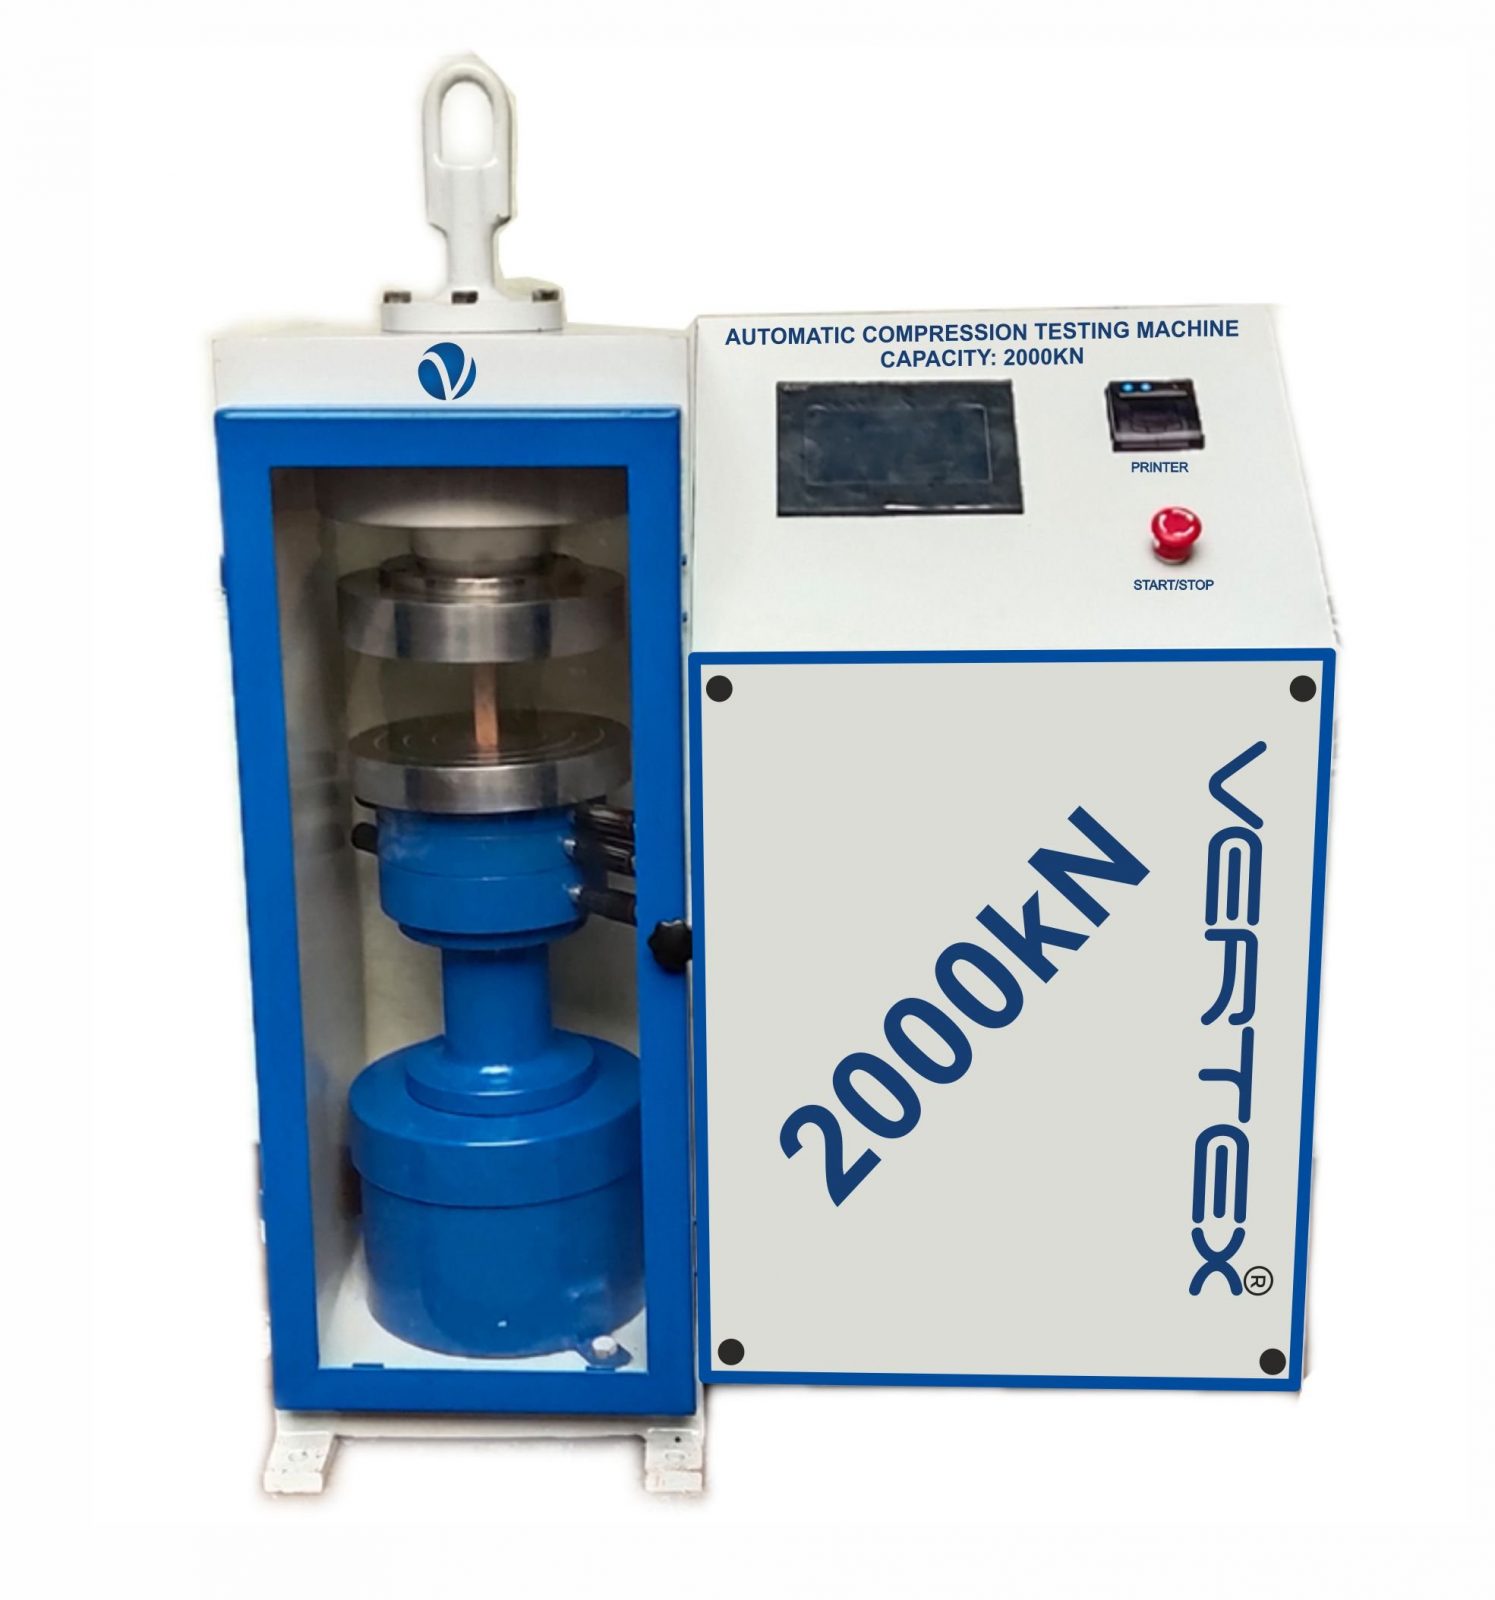
Automatic Compression Testing Machine

Automatic Compression Testing Machine

Manufactured as per International design, Plate model for highest mechanical stability, accurate centering of load and excellent repeatability. Fully Automatic pace rate control, auto stop and auto release on failure of test specimen, can be attached with flexural load frame or 500 KN load frame.

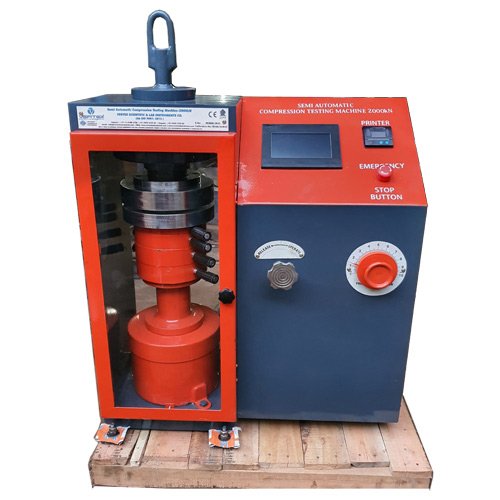
Semi Automatic Compression Testing Machine

Semi Automatic Compression Testing Machine

Pace rate is achieved manually by controlling the flow control knob and the adjustment can be made by observing the error on the display and the system is released manually after the peak load is achieved.

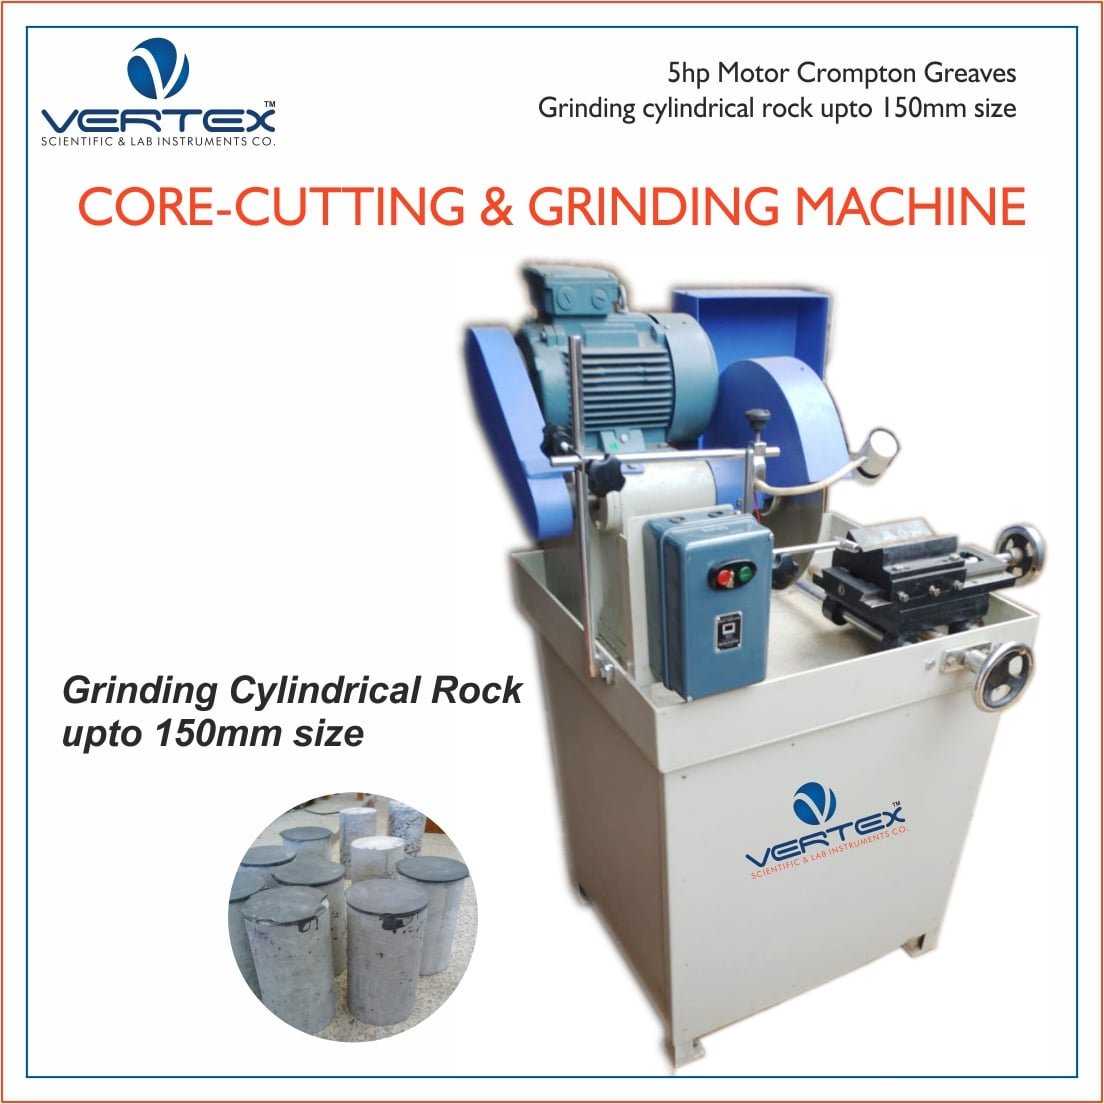
Rock Core Cutting & Grinding Machine

Rock Core Cutting & Grinding Machine

Rock Cutting Machine can be used to cut cores of varied sizes of concrete, stones, other building materials and metallic specimens.

NEW SERVO CONTROLLED COMPRESSION TESTING MACHINE